In the earliest days of planning my 18th century ImagiNations, I had imagined two tiny warring countries named Schwartzburg and Christenheim and I worked up a small scenario using the few units I had on painted at the time. After the battle I decided break out my pen and inks to draw up a map of the action in the manner of the old period maps I was enjoying at the time. My two countries went on to become the much larger and more bellicose
Grand Duchy of Grolstein and the
Konigsreich der Bleiherzen
To make a long story short, yesterday I dug out that old first map and set up a re-fight of that same early battle and spent a pleasant few hours fighting it out with my now veteran soldiers.
So here is that very first battle re-fought!
The opposing forces were:
The Grolstein Brigade:
IR 3 The Grand Duchess' Liebguarde (30 figures)
IR 1 Col. Jaehde's regiment (30 figures)
The Red Grenadiers (12 figures)
the Yellow Battery of the Grolstein artillery (2 guns)
1st Squadron Drossen Dragoons (12 figures)
The Bleiherzen Brigade
Erbprinz Fuzilier Regiment von Kluge (30 figures)
Musketeer Regiment von Pfuhlstein (30 figures)
1st Squadron Col. Graf and the Konigswald Dragoons (12 figures)
2 gun battery (1 howitzer, 1 field piece) Royal Konigsreich Artillery
Situation:
A Bleiherzen brigade is surprised by the advance guard of a slightly larger Grolstein force, and rather than withdrawing promptly across the river bridge at St. Ulrich, the Bleiherzen commander recklessly decides to give the Grolsteiners a bloody nose before retreating across the river to safety.
 |
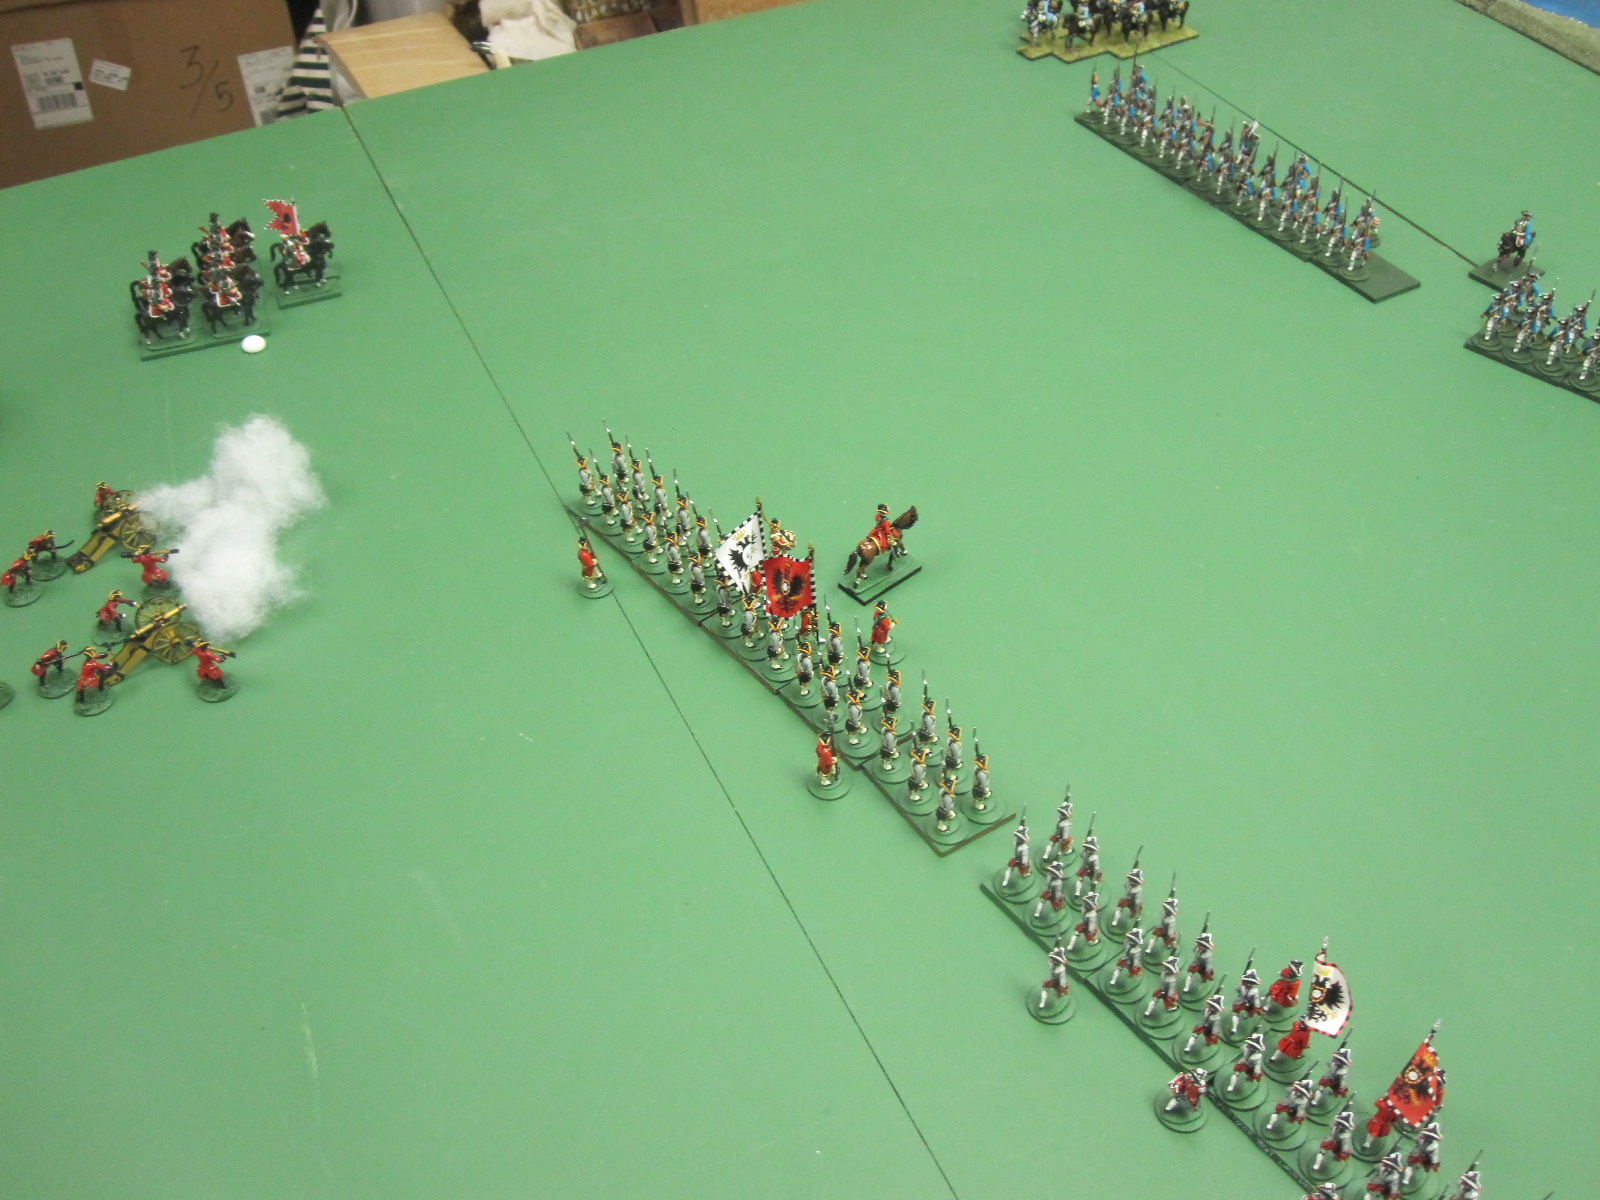
| An overview of the battlefield, looking over the Grolstein positions anchored on the village of Mulheim....in the distance a critical bridge and the town of St. Ulrich. | | |
|
|
 |
| The Grolstein brigade advances to deploy. |
 |
| The Yellow battery goes into action. |
 |
| Squadron of the Drossen Dragoons |
 |
| Colonel Graf's Dragoons anchor the right flank of the Bleiherzen line. |
The Grolsteiners advanced quickly from the heights around Mulheim and began to form line as the defendeing artillery on the Zeitberg began to fire at long and generally ineffective range.
 |
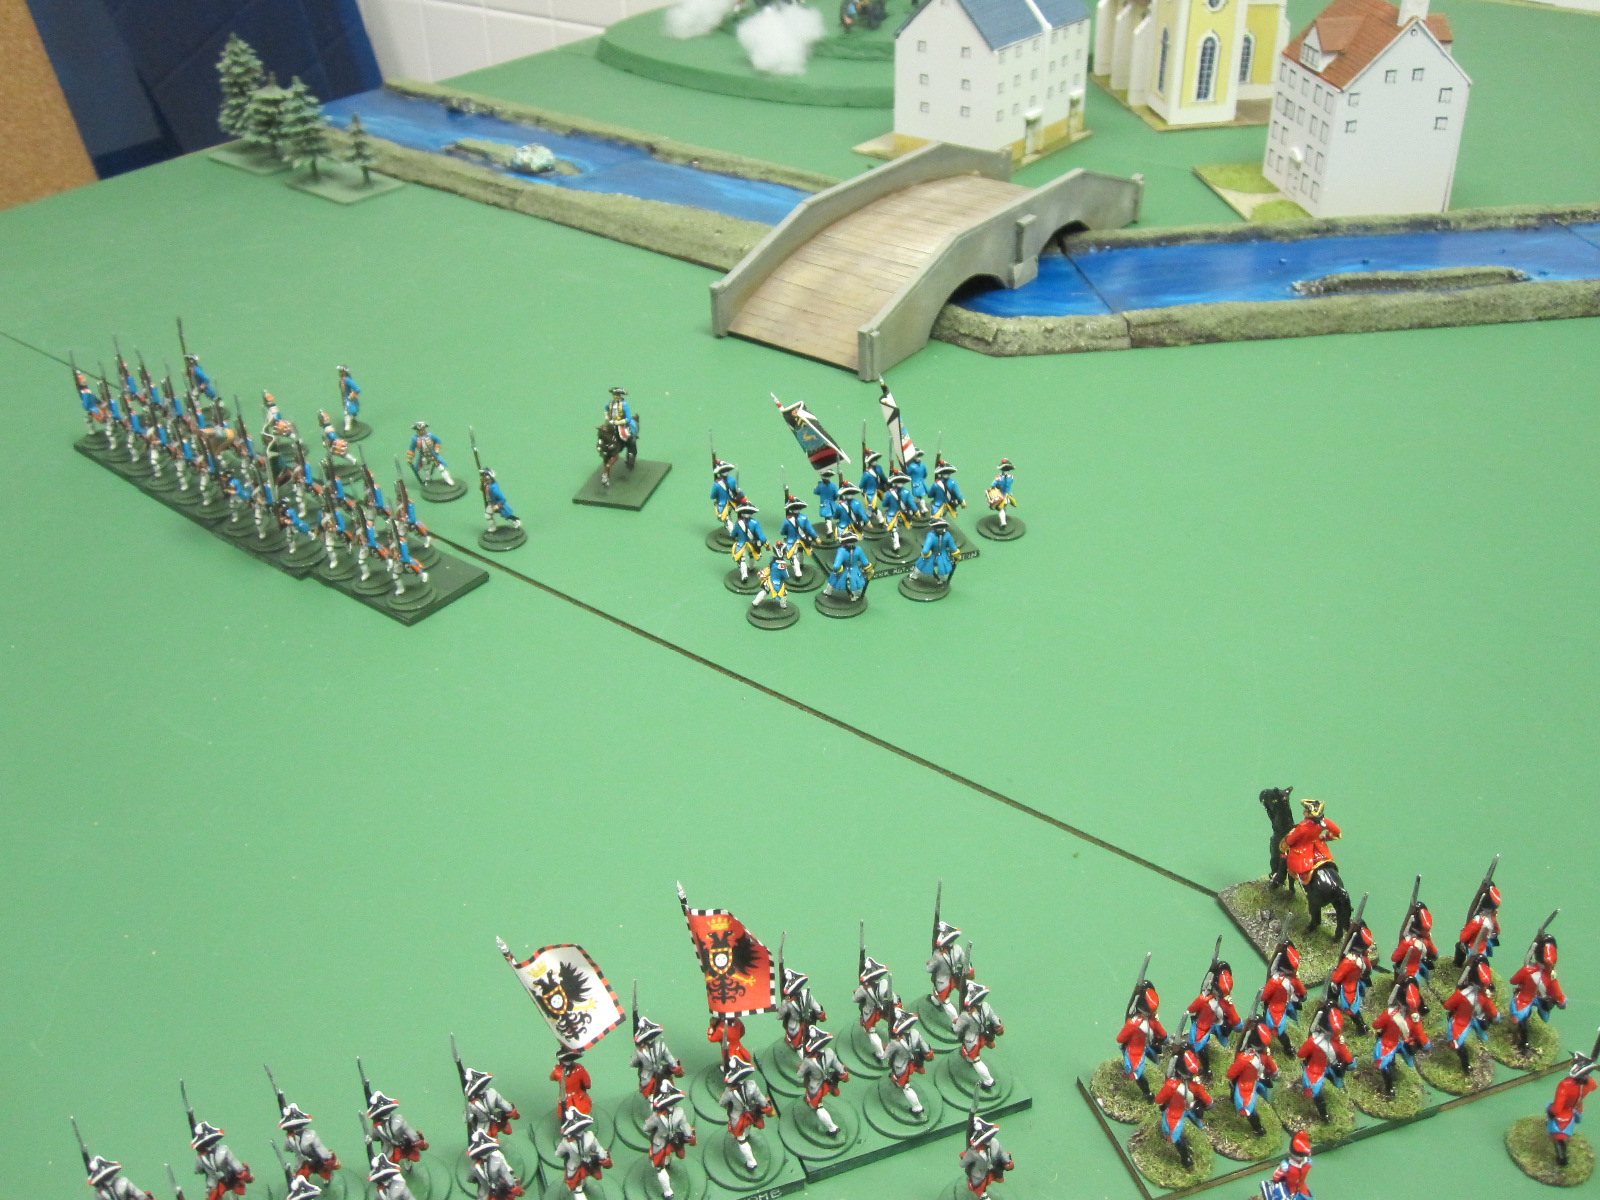
| A birds eye view of the Bleiherzen battery on the Zeitberg and the bridge at St. Ulrich |
 |
| The Regiment von Pfuhlstein |
 |
| The Yellow battery begins bombarding the defenders. |
 |
| The Grolstein brigade forms into line...some confusion of orders causes an overlap of regiments that has to be sorted out by the blows and curses of the NCOs! |
 |
| Coming into range of the howitzer on the Zeitberg gives the Liebguard's Col. some tense moments! (yes...that's a Grant shell template...accept no substitutes!) |
 |
| The Grolstein line closes the range. |
 |
| The Bleiherzen brigadier orders his line forward and delivers the first volley...the most damage falls on the Duchess' Liebguard and the Colonel of that regiment narrowly misses being hit! |
 |
| The business end of the Bleiherzen volley... |
 |
| Both sides begin to trade volleys at close range.... |
 |
| The Grolsteiners begin to falter...as the Red Grenadiers swing in on the exposed left flank of the Bleiherzen line. |
 |
| Firefight! |
 |
| The Red Grenadiers move on the flank. |
 |
| The Grolstein Dragoons can no longer stand still under the enemy's shelling and their commander orders an advance...but are eventually thrown back by a counter charge of the Bleiherzener dragoons |
 |
| Pressure on the Bleiherzeners increases but their steady musketry eventually forces the Duchess' Liebguard to retire with most of their officers down including their Colonel. |
 |
| The flanking move by the grenadiers finally collapses the defenders left and regiment Pfhulstein streams towards the safety of the bridge...the Bleiherzener brigadier wisely orders his other regiment to fall back and with two of their four units shattered the Grolsteiners have no stomach for a pursuit and the battle ends with neither side gaining much except a stirring story to tell to their grandchildren |


16 comments:
An eye-candy Old School exciting encounter, even if practically ending in a draw: compliments and thaks for sharing!
A glorious game and super map too! I give you joy of your battle Sir!
Alan
A cracklin' little action, and some excellent photos of some snazzy looking troops. Good to see the ol' shellburst indicator in action as well!
The Reich Duke is always overjoyed to see your armies in action. What an inspiration. With such splendid troops and scenery, you should entertain us more often. Truely, we can never get enough...
A splendid little action!
But how did the result compare to the original? Did it mirror the original result? Was it a repeat or did itover turn the result, idle minds want to know!
Ross
The Bleiherzeners did better in this battle over the original in that they broke 2 units of the attacking force...in the original it was the attackers all the way! Partly this was due to my early inexperience with the Grant rules...but all in all the men of the Konigreich seemed to have more heart for the fight...but perhaps that's just my slightly preferential view of things!
A smart action all round!
Lots of lovely "eye candy" indeed, sir.
I've saved reading this until Christmas since I knew that I wouldn't have any 18th century presents under the tree.
Thank you for the treat and may you enjoy a most pleasant Christmas for you and your loved ones.
-- Jeff
A beautiful set-up, eye-wateringly pretty armies (I especially like the red and grey of the Grolsteiners - such tasteful military tailoring. I enjoyed, too the classic 2 of foote (well, sort of), 1 of horse and a battery. And to see Charles Grant's shellfire template in use... just wonderful.
I'd sure lored like to see more of the Grolstein and Bleiherzen forces in action. Very inspiring!
Cheers,
Ion
Beautiful. What size table was in use?
Keith,
The table is an 8'x 5'.
Very nice - particularly liked the map. What size table was in use? I might have a go at this scenario myself.
Keith,
The table is an 8'x5'. Most of my 18th century stuff is played on an 8x5
Thanks. If I post a report on my blog, would it be OK to use your map? Duly attributed of course.
Keith, you're welcome to use the map with my compliments!
--Dave
Much appreciated. Your scenario is one of two I intend to use to test out how Black Powder can work with just one brigade per side (the other scenario being the Table Top Teaser 'Cavalry Encounter' from Battlegames no.23)
AARs to follow in a while on my blog.
Cheers, Keith.
Post a Comment